Dog Carrier Backpack Prototype Development Process
The dog carrier backpack prototype development process should pass through 6 measurable gates: design input, volume mock-up, pattern trial, functional sample, verification sample, and pre-production approval. Each gate closes specific risks in fit, rated load, ventilation, balance, escape control, and assembly before bulk cutting. A normal sewn sample requires 6-10 working days once dimensions, materials, artwork, and test targets are complete.
Executive Summary
Prototype development is an engineering risk-reduction sequence rather than a search for an attractive first sample. Begin with dog body dimensions, rated mass, carrying orientation, wearer interface, external size limits, and market claims. Use quick volume and load mock-ups to establish the center of gravity and occupied space before investing in finished materials. The first sewn iteration should expose construction access, seam behavior, frame stability, opening security, ventilation obstruction, and strap geometry. Record every finding against a numbered drawing or measurement instead of relying on general comments. The commercial baseline remains MOQ 500 pieces per color, samples in 6-10 working days, bulk production in 35-50 days after final approval, and lot inspection to AQL 2.5. Later prototypes must use traceable bulk-intent materials and undergo static load, dynamic carry, zipper, mesh, dimension, and pack-out checks. Freeze only the configuration supported by a synchronized tech pack, BOM, color standards, test records, and signed pre-production sample. This staged method prevents cosmetic approval from hiding structural weakness and makes the final prototype a credible predictor of line output. The handoff should also preserve failed-sample evidence, approved deviations, and unresolved watch points so pilot production checks the risks discovered during development.
Working as a pet carrier manufacturer on dog carrier backpack ranges means the technical file is shared before any quotation: pattern, bill of materials, test report and packing specification.
Turn Product Assumptions Into a Prototype Test Plan
A prototype begins with uncertainties, not with fabric. List the assumptions that could make the program fail: the dog may not have enough internal length, the shell may collapse around a deep chest, the base may tilt away from the wearer, mesh may be blocked by the animal, a large opening may weaken the frame, or strap anchors may concentrate load in the lining. Give each assumption a test, owner, specimen stage, and release criterion. This risk register determines what the first sample must teach and prevents effort from being spent on decorative details too early.
Define the intended animal envelope using body length, standing height, chest breadth or depth, and mass. These are design inputs rather than promises that every dog of a breed or weight will fit. The usable cavity must account for padding, frame stays, seams, and expected panel bow. Record carrying modes and trip conditions, including walking duration, public-transport handling, convertible tote use, storage folding, or under-seat dimensional intent. Each mode creates different force paths and opening risks.
The plan should separate structural, ergonomic, airflow, cosmetic, compliance, and packaging questions. A rough structural sample can use neutral material if its stiffness, thickness, and sewing behavior are representative. Color and logo samples can be developed separately. Chemical tests should wait for nominated bulk materials, while geometry and load-path checks can begin sooner. This separation avoids rejecting useful construction learning because a lab dip is not final.
Set measurable outcomes. Examples include no anchor movement after a defined static proof load, base deflection below a set limit, zipper operation after cycling, minimum ventilation open area when loaded, specified strap adjustment range, and all critical dimensions within tolerance. Also state what constitutes a redesign rather than a minor correction. A prototype plan is effective when every sample has a declared question and every approval is tied to evidence that answers that question. Review the plan with design, pattern, sourcing, quality, and production engineering before materials are cut.
Use Volume and Load Mock-Ups Before Detailed Pattern Cutting
A low-cost volume mock-up tests proportions faster than a finished sewn prototype. Foam board, corrugated sheet, inexpensive textile, hook-and-loop, temporary stays, and adjustable webbing can represent the internal envelope, opening, base, and wearer interface. Mark internal and external datums directly on the model. Place distributed test mass where the dog's center of mass is expected, then observe tilt, panel intrusion, opening access, and clearance around ventilation zones. The purpose is not appearance; it is to challenge geometry while changes remain inexpensive.
Balance deserves an early trial. A carrier positioned too far from the back increases leverage on shoulder straps and can rotate downward. Moving the base inward, adjusting anchor height, or changing the top profile can reduce that moment. The mock-up should be worn by representative users with straps adjusted across their intended range. Record shoulder contact, lower-back clearance, head clearance, handle balance, and whether sternum or waist components remain within usable positions. Do not use wearer comfort alone as proof of animal fit; the two interfaces need separate criteria.
Opening studies can be performed with temporary cut lines. Check step-in height, required zipper travel, hand access, and how much structural panel remains when the entry is open. Verify that a dog cannot directly reach the slider from the occupied position and that tether geometry does not pull across the neck. For a collapsible concept, cycle fold and erection to see where stays, boards, and foam develop memory or sharp bends.
Photograph the mock-up in unloaded and loaded states from fixed front, side, and top positions. Add rulers or grid references, identify the test mass and strap settings, and annotate panel deflection. Transfer accepted datums into the two-dimensional pattern brief. Resolving center of gravity and usable volume at the mock-up stage prevents detailed samples from becoming expensive demonstrations of a basic geometric error. The review should conclude with a signed decision on envelope, opening concept, structural zones, and carry orientation.
Develop Patterns and Material-Behavior Trials
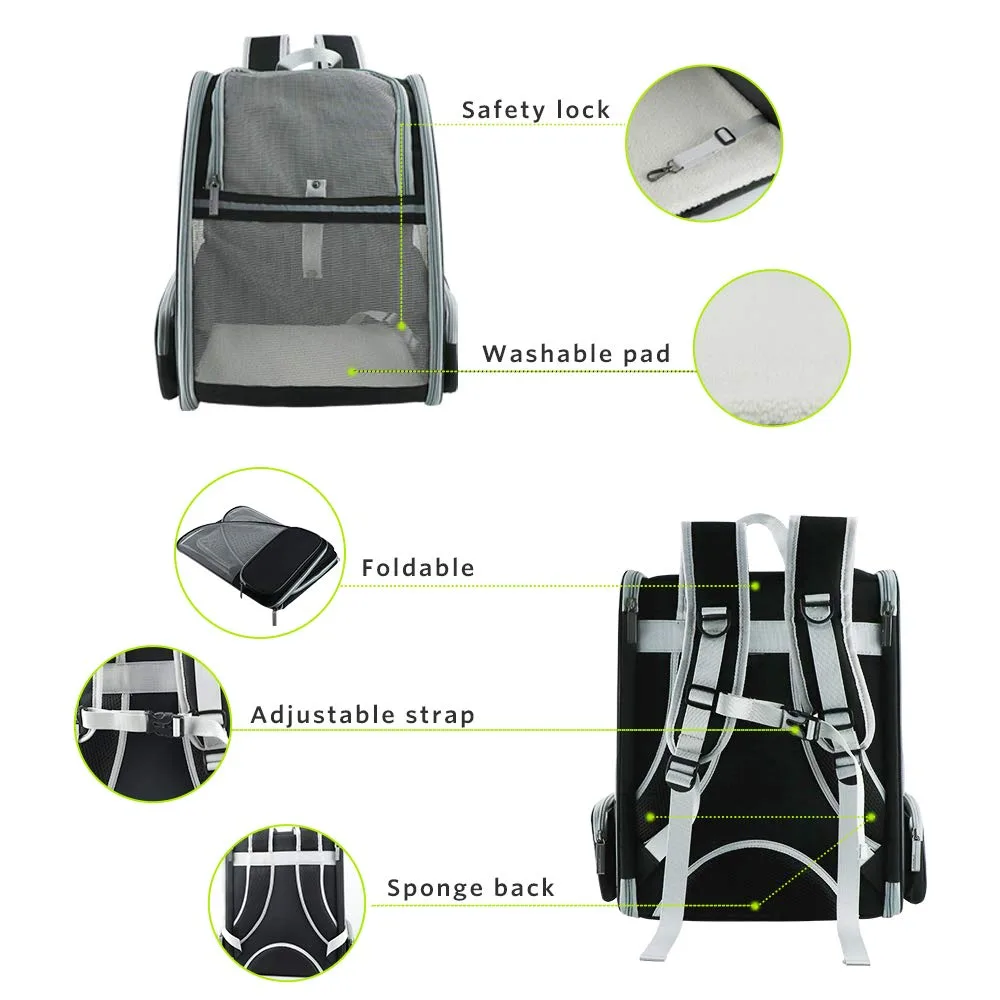
Pattern development converts the approved volume into cut shapes while anticipating how each material behaves during assembly. Pattern pieces need grain direction, material code, cut quantity, notches, alignment marks, seam allowance, fold lines, drill or placement points, and revision. Curved panels should be walked along their seam lines to confirm matching lengths. The engineer must allow for foam compression, turn-of-cloth, binding take-up, coating stiffness, and mesh stretch; flat dimensions do not transfer directly to finished volume.
Before sewing a complete bag, build coupons and small subassemblies. Trial mesh-to-Oxford binding around the tightest radius. Sew the maximum-thickness shoulder-strap stack. Test heat transfer on coated shell material. Confirm embroidery backing does not create an abrasive interior. Check zipper tape behavior around the planned curve and verify that frame stays can be inserted without damaging ends. These trials identify needle size, thread, presser foot, folder, feed setting, and seam sequence with much less material than a whole carrier.
Material substitutions in early samples must be intentional. A substitute shell should approximate bending stiffness, thickness, coating friction, and sewing response, not merely color. Foam substitutes should match density and compression behavior because they change fit and turning difficulty. Mesh needs comparable stretch and recovery. Record every non-bulk material on a deviation sheet so reviewers do not approve its appearance or performance by mistake.
Digitized patterns should produce a measurement forecast for critical points. Compare that forecast with the sewn result to learn process shrinkage or growth. If a panel repeatedly finishes short, determine whether the cause is pattern geometry, cutting distortion, seam allowance, operator feeding, or binding tension before altering the nominal dimension. Prototype patterns become production-ready only when observed material behavior is incorporated into the geometry instead of corrected by operator manipulation. Retain dated subassembly samples for high-risk seams as references during line setup.
Build and Inspect the First Functional Sewn Sample
The first complete sewn sample should prioritize structural learning. Use the intended operation sequence where possible, but leave selected areas accessible for inspection. Number strap roots, tether capture points, zipper ends, frame terminations, base corners, and mesh seams. Before the lining hides them, photograph overlap lengths, reinforcement orientation, seam position, and bar-tack patterns. This record reveals whether the drawn construction can be executed and allows later failures to be traced to the actual stack.
Inspect the sample in three conditions: empty, loaded with a distributed fixture, and worn. Empty inspection covers symmetry, dimensions, zipper path, panel shape, pocket alignment, board insertion, and assembly defects. Loaded inspection records base deflection, side-wall intrusion, frame distortion, zipper stress, anchor rotation, and blocked mesh. Wear trials check carrier position, strap range, load transfer, sway, access to adjusters, and interference between hardware and the user's body. Use representative test loads, not a live animal, for early structural work.
Operate every user interface repeatedly. Open and close entries through their full curves, secure anti-escape features, adjust straps from minimum to maximum, remove and replace the base insert, fold and erect the shell, and use all handles or conversion points. Observe whether loose webbing enters zipper paths, pullers strike the animal compartment, bindings roll, or foam bunches. Record initial defects separately from damage produced by cycling.
Measure against the chart using defined landmarks and conditioning. A dimension outside tolerance is a symptom; root cause may lie in cutting, notching, seam allowance, material stretch, or assembly sequence. Review failures jointly with pattern and sewing technicians while the sample is available. The first functional sample succeeds when it exposes design and process weaknesses early, even if its cosmetic finish is not ready for buyer approval. Close the round with a prioritized correction list, updated risk register, revised pattern set, and clear decisions about which materials must be replaced in the next iteration.
Verify Structure, Closures, Airflow, and Pack-Out
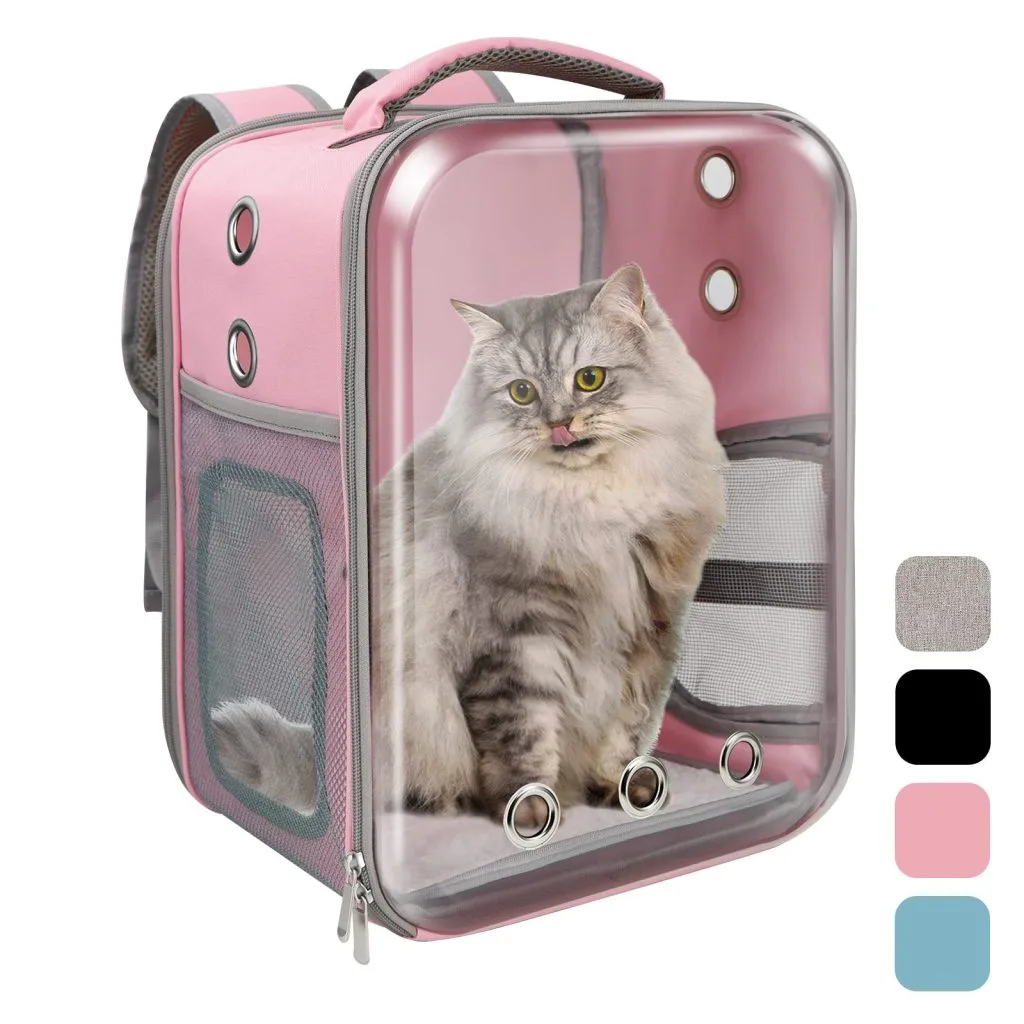
Verification converts observations into repeatable results. The second or verification sample should use bulk-intent structural materials and components because load, airflow, and dimensional behavior depend on the actual stack. Condition the sample, label its revision and component lots, and test from a written method. Static proof loading evaluates the complete path from base and shell through reinforcement and straps. Dynamic carry or controlled drop cycling exposes fatigue and shock effects. Acceptance should address rupture, seam growth, anchor movement, buckle release, excessive deformation, and post-test operation.
Closures need assembled testing. Cycle zippers around real corners under representative panel tension, inspect teeth or coil, sliders, stops, tape seams, and locking devices, then repeat functional checks after load tests. Mesh panels require burst or puncture evaluation plus pull-out checks at bound seams. Ventilation assessment should record exposed open area and identify obstruction by padding, pockets, body contact, or rain covers. Airflow cannot be inferred from the percentage of mesh in a flat rendering.
| Prototype gate | Primary evidence | Typical release rule |
|---|---|---|
| Volume mock-up | Loaded geometry and interface photographs | Envelope and balance datums approved |
| Pattern trial | Coupons, seam walks, measurement forecast | High-risk stacks sew without forced feeding |
| Functional sample | Construction audit and operating review | Major architecture fixed |
| Verification sample | Load, closure, mesh and dimension results | All critical tests pass |
| Pre-production sample | Bulk-intent BOM, appearance and pack-out | Signed release with no open critical deviation |
Test-method sources such as ASTM International can support method selection, while vehicle-restraint research context is available from the Center for Pet Safety. Claims and fixtures must still be defined for the exact product. A prototype passes verification only when the assembled carrier retains safety-critical function after the specified mechanical sequence.
Measurement repeatability should be verified before interpreting small changes between prototypes. Two trained reviewers can independently measure the same conditioned unit, using identical landmarks, tools, closure state, and support surface. If their results differ beyond an agreed gauge-repeatability band, clarify the method before changing the pattern. The same rule applies to zipper operating force, base deflection, and ventilation calculations: define the fixture and observation point so variation from the method is not mistaken for product variation. Repeat critical checks on more than one sample when hand-built variation could conceal a marginal design. Record raw results rather than only pass labels, because values close to the limit warn that normal bulk variation may cross the acceptance boundary.
Run Failure Analysis and Controlled Iteration
A failed test should produce engineering information, not an immediate patch. Record the test condition, time or cycle of failure, exact location, material lots, photographs, and the sequence leading to damage. Classify the failure as material rupture, seam failure, stitch damage, anchor pull-out, hardware deformation, component release, pattern-induced stress, or fixture anomaly. Examine both the visible break and the upstream load path; reinforcing only the broken spot can move the next failure to a less visible area.
Use cause analysis to distinguish design from execution. If strap webbing remains intact but tears through the shell, increasing webbing tensile strength will not solve the substrate problem. If thread breaks along needle perforations, stitch density, needle size, seam margin, or material brittleness may be involved. If a zipper separates only around a tight top corner, chain size may be adequate while radius and panel tension are not. If mesh pulls from binding, review capture depth, edge preparation, seam allowance, and mesh stability before simply adding another row of stitches.
Change one controlled variable where practical, then retest. Create an experiment matrix for reinforcement size, seam location, thread, stitch density, material layer, or geometry. Mark altered samples so results cannot be confused. Assess side effects: larger reinforcement can add stiffness and pressure points; thicker foam can reduce internal volume; stronger mesh can reduce airflow; a heavier board can improve deflection while increasing carrier mass.
Update patterns, BOM, drawings, test matrix, and cost implications together. No correction is complete while it exists only on the sample-room copy. Reopen any previous approval affected by the change, including packaging if folded thickness or hardware contact changes. Prototype iteration adds value when every failure is traced to a plausible mechanism and every correction is verified without creating an undocumented trade-off.
Maintain a design-verification log showing risk, sample revision, result, action, owner, and closure evidence. This history helps production understand why critical details cannot be simplified and gives quality inspectors objective points to protect during pilot output.
Approve a Bulk-Intent Pre-Production Sample
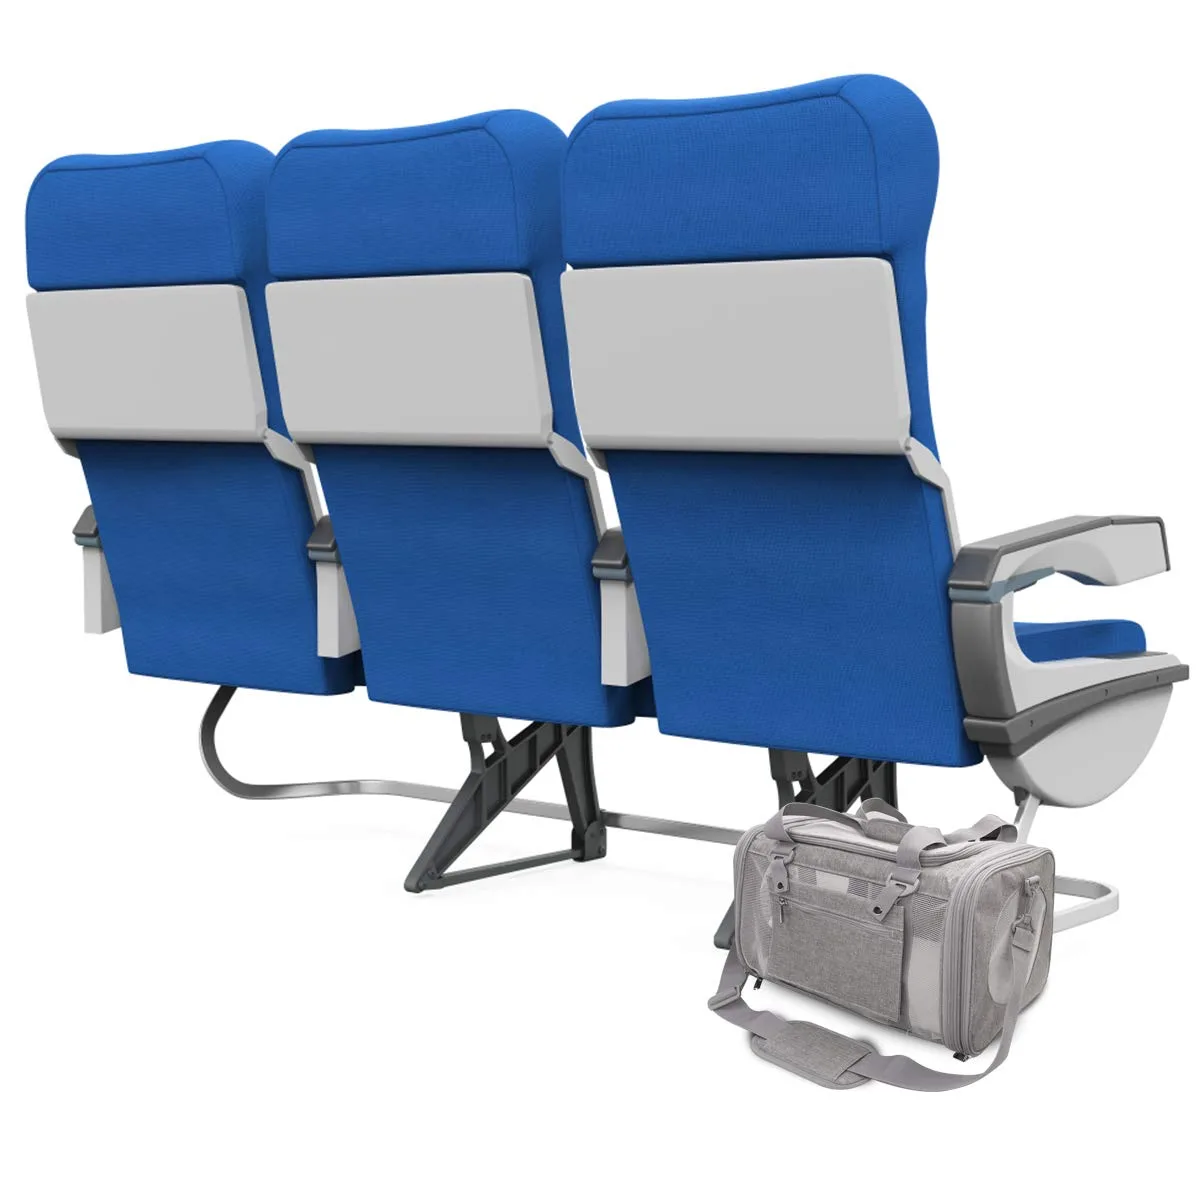
The pre-production sample is the final integrated reference before cutting. It should use the approved shell, mesh, foam, webbing, zippers, hardware, thread, labels, logos, base components, and packaging. Any unavoidable substitution must appear on a deviation list with its effect and closure plan. The sample is measured, operated, visually reviewed, and subjected to agreed confirmation tests. Color is checked against physical standards under defined lighting rather than on a screen.
Approval should cover distinct categories. Construction review confirms seams, allowances, reinforcements, hidden captures, opening shape, and assembly sequence. Dimensional review records every critical point with actual results. Functional review covers closures, adjusters, tether, removable components, and carrying modes. Appearance review covers shape, shade, logo, topstitching, cleanliness, and symmetry. Packaging review confirms fold, protection, accessories, labels, barcode, carton quantity, and recovery after unpacking.
Seal at least the agreed reference units and label each with style, revision, date, color, and signatures. One may remain with the buyer or quality representative and another at the production base. The sealed unit supports visual comparison, while the released tech pack provides invisible specifications and tolerances. They must cite the same revision. Protect reference samples from use, fading, contamination, or component removal.
A production-readiness meeting checks materials, patterns, cutting markers, machine attachments, templates, gauges, test fixtures, work instructions, inspection forms, pack-out references, and operator training. Run a small pilot quantity to verify line sequence and first-off quality. Inspect safety-critical details before closure and compare finished measurements with sample-room results. A signed pre-production sample is a valid bulk gate only when material, documentation, tooling, and inspection controls are ready to reproduce it. Open critical deviations should stop release rather than be carried into a 500-piece or larger order.
First-off review should sample output from the actual planned stations, machines, attachments, and operators rather than from a separate sample-room route. Compare seam margin, stitch formation, bar-tack location, panel alignment, zipper shape, finished dimensions, and loaded balance with the approved reference. Where the production method differs, document why and verify that the result remains equivalent. Time each operation during the pilot to identify bottlenecks that could encourage shortcuts after line speed rises. Approve corrected first pieces after adjustments and retain them at the relevant stations. This converts a single master sample into practical process references for cutting, sewing, finishing, and packing.
Plan Prototype Timing, Cost, and the 35-50 Day Handoff
The quoted sample window of 6-10 working days assumes complete inputs and available materials. Day zero begins after the design brief, dimensions, artwork, color direction, component decisions, and performance targets can be used. The plan then allocates time for pattern work, material preparation, cutting, subassembly trials, sewing, measurement, functional review, and photography. Custom molds, special-dyed textiles, new hardware, external laboratory work, or incomplete comments create separate lead-time paths and should be disclosed.
Prototype cost should be transparent. Development may include pattern engineering, material minimums, custom printing or embroidery setup, tooling, sample labor, testing, and courier charges. A sample price cannot be projected directly as a bulk unit price because one-off labor and low-quantity sourcing distort it. Conversely, a bulk estimate made before the pattern and operation breakdown are stable should be marked provisional. Keep a cost-change log beside each revision so a structural correction does not silently move the program outside target.
After approval, bulk planning uses the frozen BOM and operation content. The 35-50 day schedule includes material procurement, incoming checks, cutting, pilot setup, subassembly, main assembly, in-line inspection, finishing, final testing or checks, packing, and final AQL 2.5 inspection. MOQ 500 pieces per color should be confirmed against supplier minimums for custom textiles and components. Standard commercial planning can use T/T 30/70 and FOB Xiamen when those are the agreed purchase terms.
Handoff records include approved patterns, tech pack, BOM, material and color standards, sample-comment history, test reports, risk register, sealed sample, packing reference, and change-control authority. Production is not authorized to interpret missing information as permission to substitute. The shortest reliable development path is not the one with the fewest prototypes; it is the one that assigns each prototype a specific risk and closes that risk before bulk value is committed. Post-pilot findings should update the released record before line speed increases. Schedule a formal gate after the first packed quantity, not just after the first sewn unit. Review defect frequency, measurement drift, operation time, material consumption, packing recovery, and carton data. Confirm that corrective actions remain effective across several bundles and shifts. If the pilot reveals a pattern or BOM correction, reissue controlled documents and identify affected cut work before proceeding. This checkpoint prevents a workable sample from being confused with a stable repeatable process and gives the production schedule an evidence-based start point. Documented evidence protects the release decision.
Production capability
- SGS-verified production space of 4,950 m², 149 machines, 7 assembly lines
- Pet carrier and pet bag output since 2014 from a 137-person team
- 200,000 units shipped monthly under BSCI and ISO 9001 systems
People Also Ask
How many prototypes are needed for a dog carrier backpack?
Most programs need a construction or functional sample, a verification iteration, and a bulk-intent pre-production sample, although complexity and test failures can add rounds.
How long does a dog carrier backpack prototype take?
A standard sewn sample takes 6-10 working days after all usable specifications, artwork, colors, components, and test requirements are available.
What should be tested on the first prototype?
Check internal volume, balance, structural load path, opening geometry, ventilation obstruction, strap range, component interaction, and assembly feasibility.
Can live dogs be used for structural prototype testing?
Early structural tests should use controlled distributed loads and fixtures. Animal fit evaluations require appropriate welfare controls and cannot replace mechanical verification.
What is a pre-production sample?
It is the final integrated sample made with approved bulk-intent materials, components, branding, labels, construction, and packaging before cutting release.
When should prototype patterns be frozen?
Patterns are frozen after dimensions, construction, load, closure, airflow, and assembly risks pass verification and all linked documents share one revision.
Frequently Asked Questions
What is the difference between a mock-up and a prototype?
A mock-up quickly studies volume or interfaces; a prototype uses progressively representative patterns, materials, and construction to verify performance and production.
Must the first sample use final colors?
No. Substitute colors can be acceptable for structural learning if material behavior is representative and every deviation is clearly recorded.
Why test zipper curves on the assembled bag?
Panel tension and radius affect slider force and chain alignment, so straight-chain tests do not reproduce the actual opening condition.
How is prototype base sag measured?
Use a defined distributed load, support or carrying condition, measurement landmarks, duration, and maximum allowed deflection.
What causes prototype dimension differences?
Pattern geometry, cutting distortion, seam allowance, feeding, foam compression, binding tension, and conditioning can all change finished measurements.
Should failed samples be retained?
Yes. Label and retain relevant failures and control samples so the mechanism and effectiveness of corrections can be compared.
Can a cosmetic sample approve performance?
No. Cosmetic approval covers appearance only unless the specimen uses representative construction and has passed the specified performance tests.
How are prototype comments written?
Reference numbered photos, drawing callouts, actual versus required values, priority, responsible owner, due date, and verification method.
What is a bulk-intent material?
It is the nominated production material with the actual grade, construction, coating, color process, source, and expected performance.
Does AQL inspection validate the prototype?
No. Prototype verification establishes design performance; AQL sampling later checks whether a completed lot conforms to the approved specification.
When should packaging be prototyped?
Prototype pack-out before bulk release because folding and compression can deform stays, crease foam, mark coatings, or change carton dimensions.
What records close prototype development?
Close with released patterns, tech pack, BOM, standards, test evidence, signed sample, risk log, packaging reference, and revision history.
Talk to QUANZHOU JUNYUAN BAGS about a pet carrier program: MOQ 500 pieces per colourway, samples in 6-10 working days, bulk production in 35-50 days under AQL 2.5 inspection.
Get a free quote Request a sample